It can be difficult to capture the beauty of our national parks in photos. One NPCA staffer shares tips to get more confident with your camera and make your images stand out!
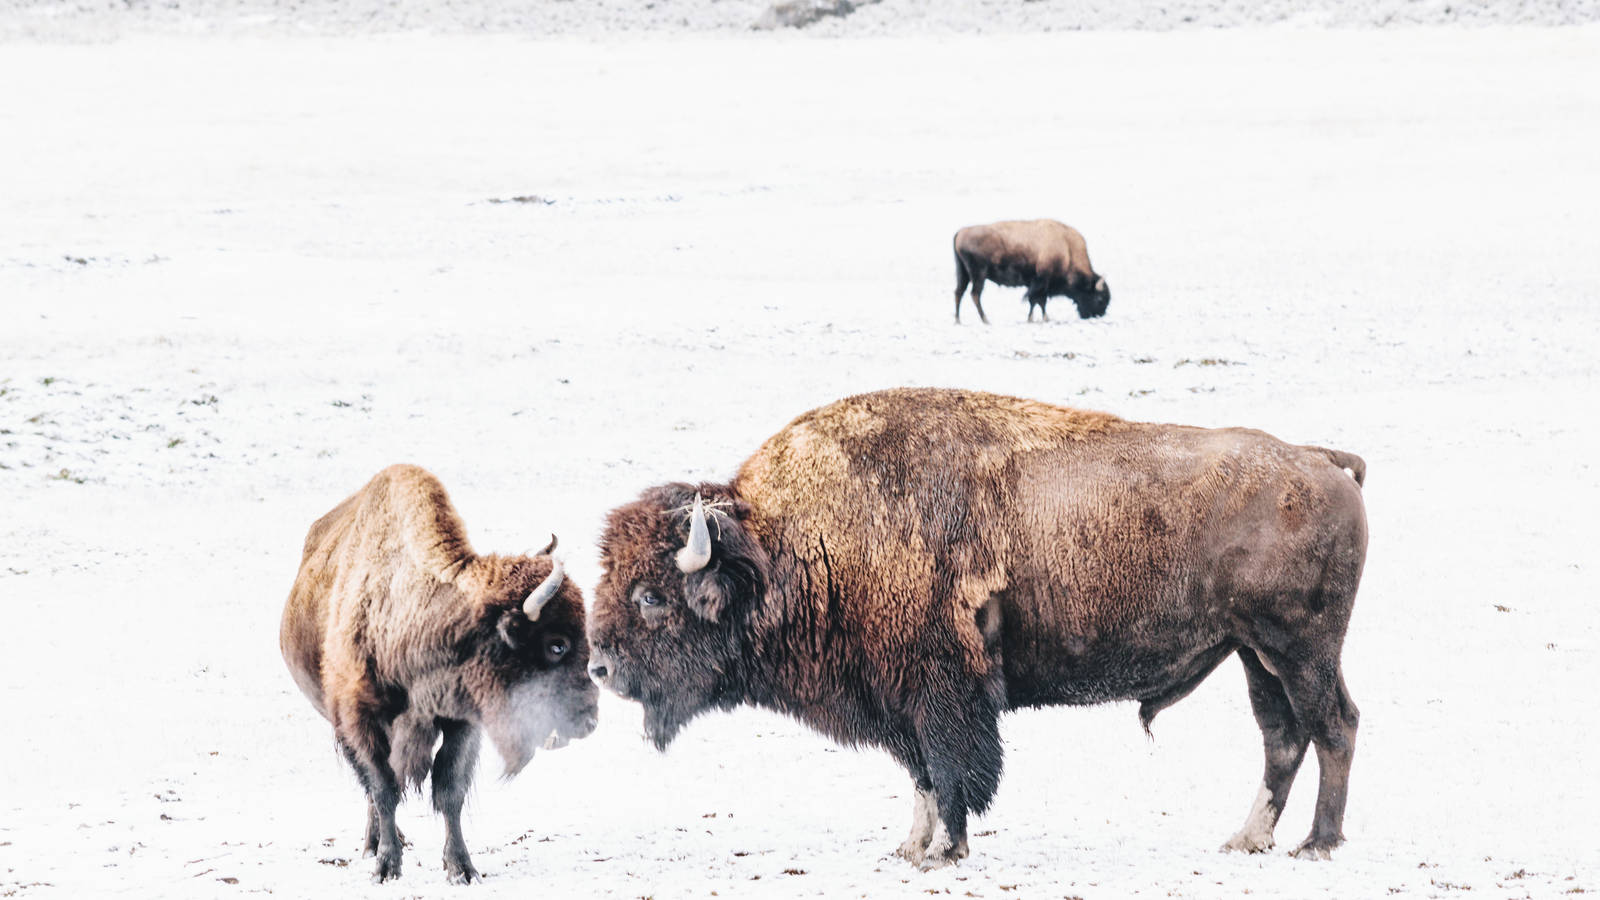
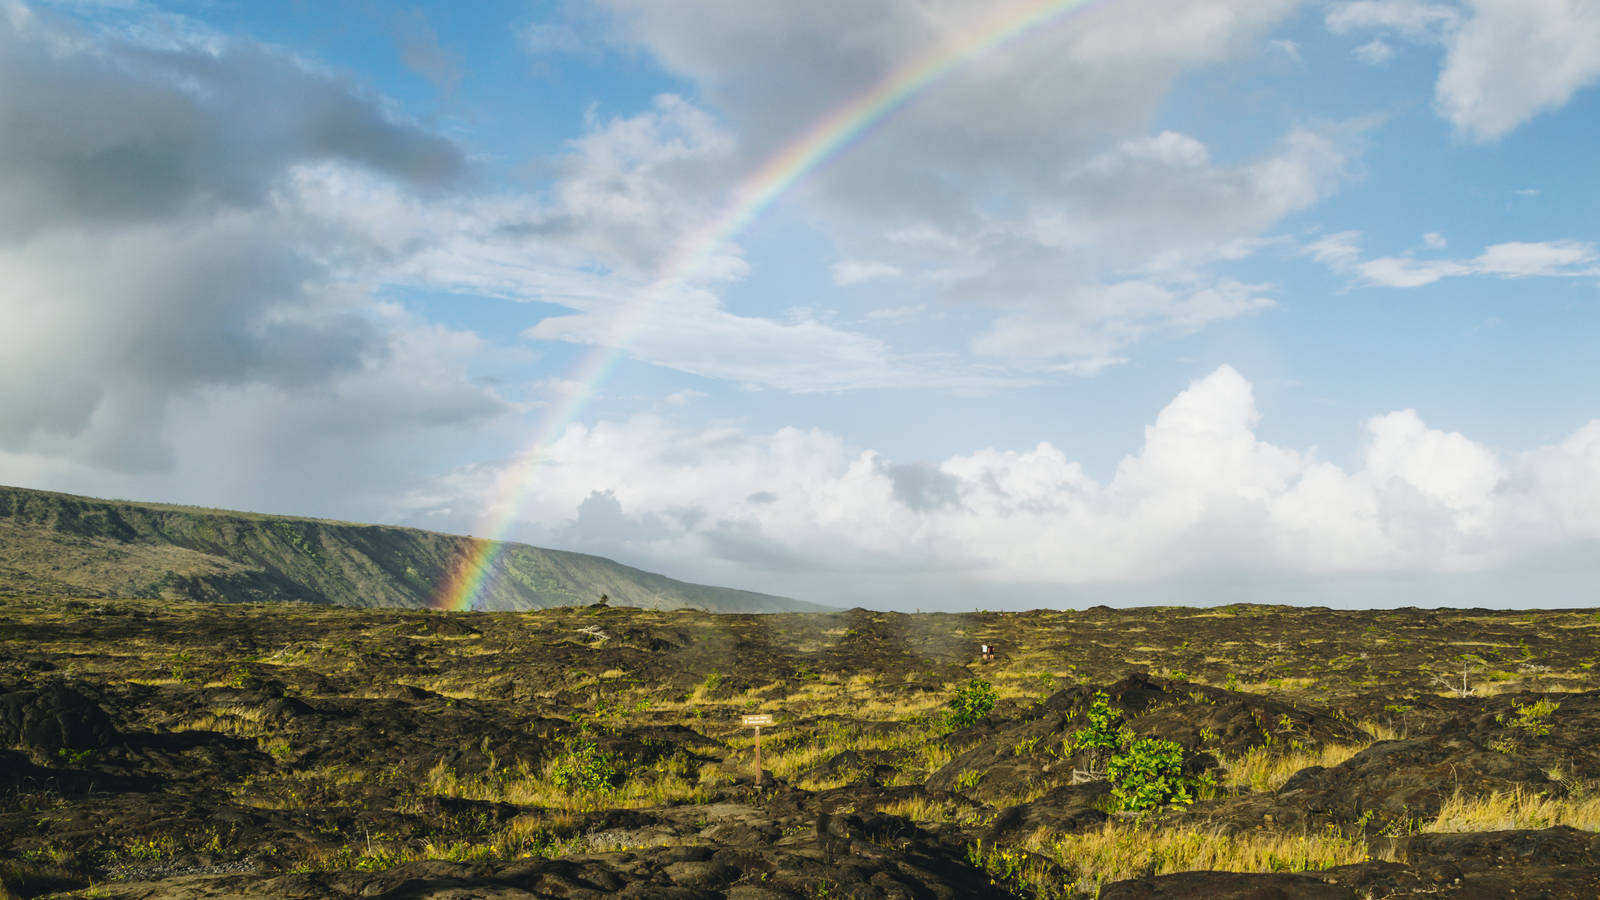
National parks inspire photographers of all levels. For me, the draw isn’t just the beautiful scenery, but that our parks are so dynamic and alive. The same landscape that you saw yesterday may look different tomorrow based on the time of day, the weather, the season. And of course, the wildlife! There’s something really special about seeing animals roam freely in a natural, protected habitat, and they’re my favorite subjects to photograph. If you’re bringing your camera along on your next park trip, here are some suggestions for taking standout photos, no matter your experience level.
(Click photos to enlarge.)
1. Plan ahead.
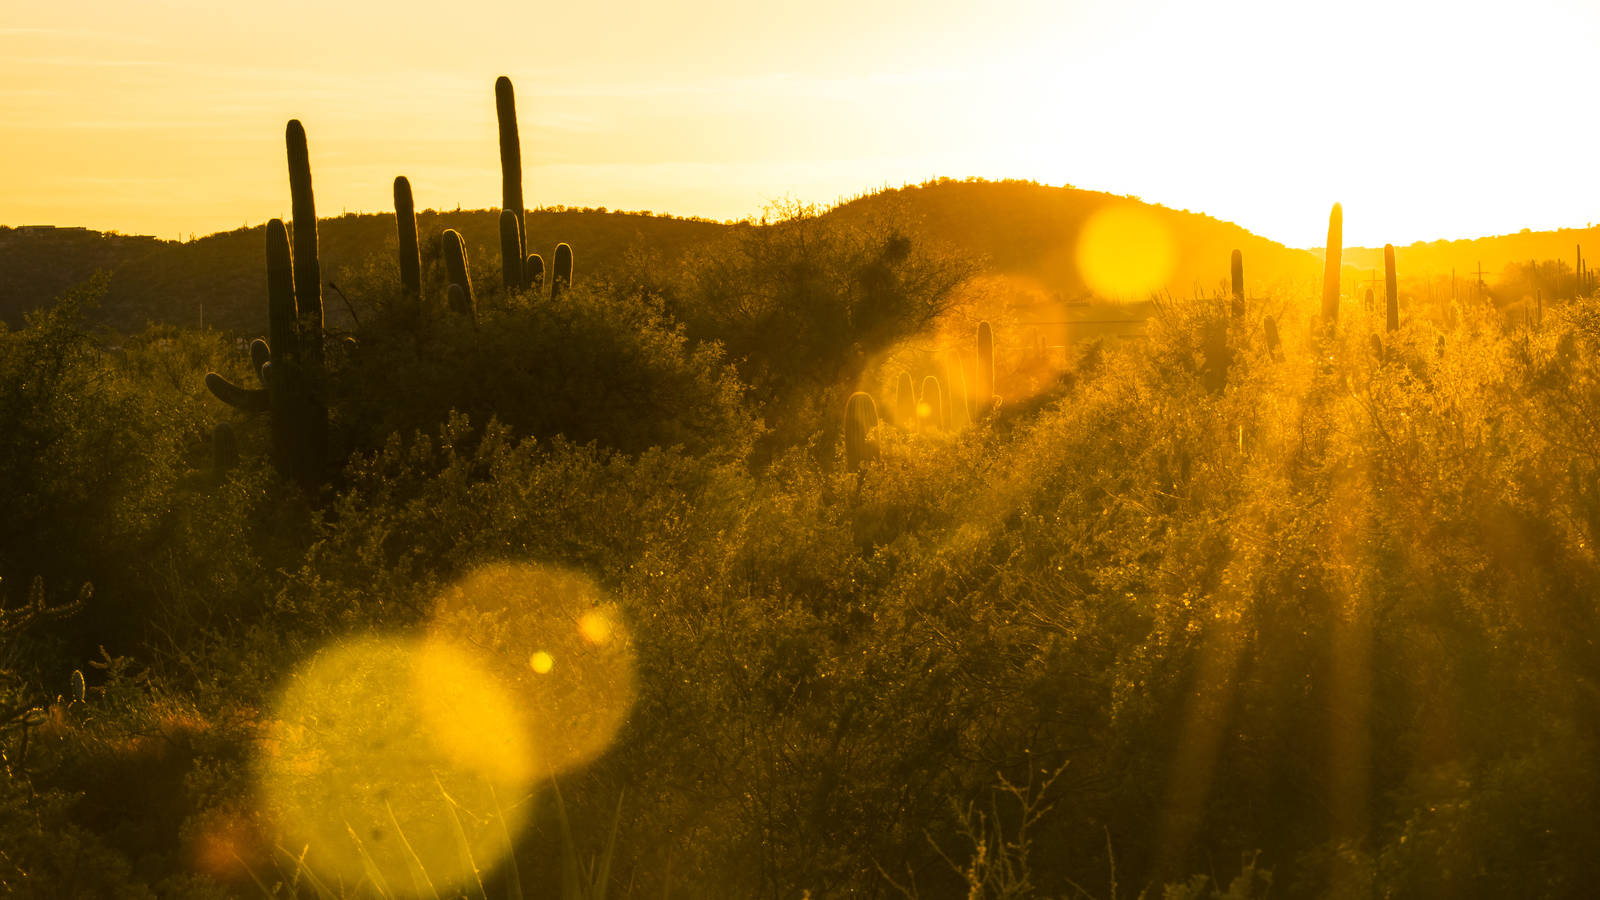
There’s so much that goes into the most stunning photographs well before they’re even taken — from timing to location to weather and more. Research where the critters tend to hang out if you want wildlife photos, and plan to put in some early mornings to see them when they’re most active. Prioritize photographing during “golden hour” (the time around sunrise and sunset) when the light is soft, horizontal and warm to give photos a dreamy glow and — hopefully! — incredible skies. Want to capture the stars? I like to scout my nighttime shooting location in the daytime to ensure I’ll be able to access the area safely and get an idea for how to frame my photo. Apps will also help you locate the Milky Way so you can plan where it will be over your horizon. Note that you’ll generally have better luck with astrophotography in colder months, when the air is clearer, though the Milky Way is generally brightest and most visible from spring to fall.
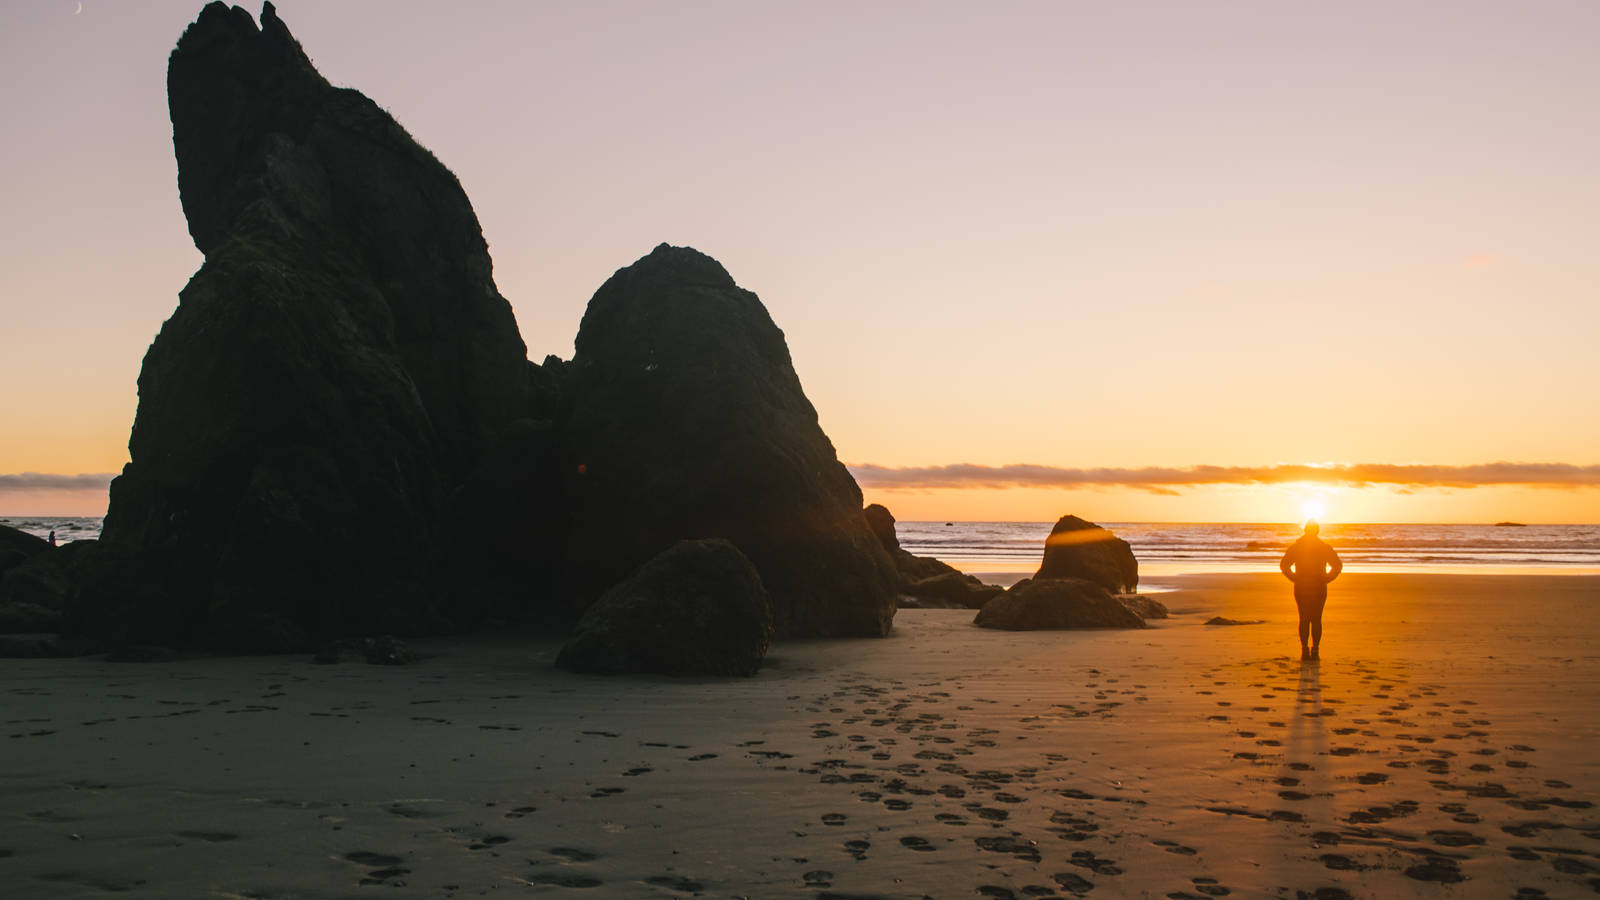
2. Think off the beaten path.
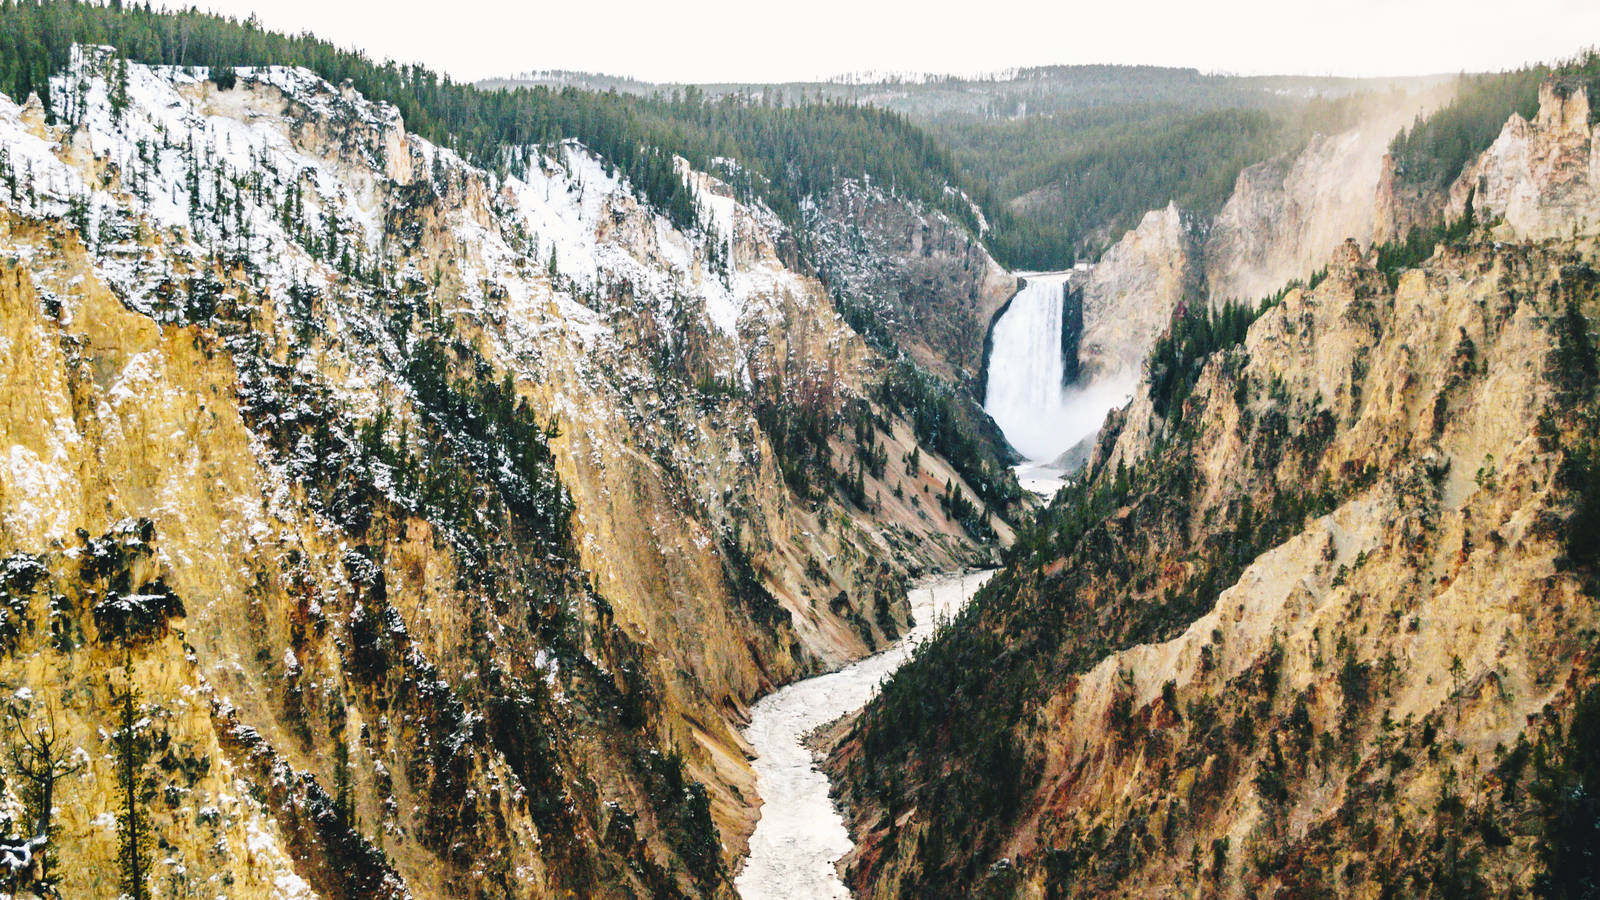
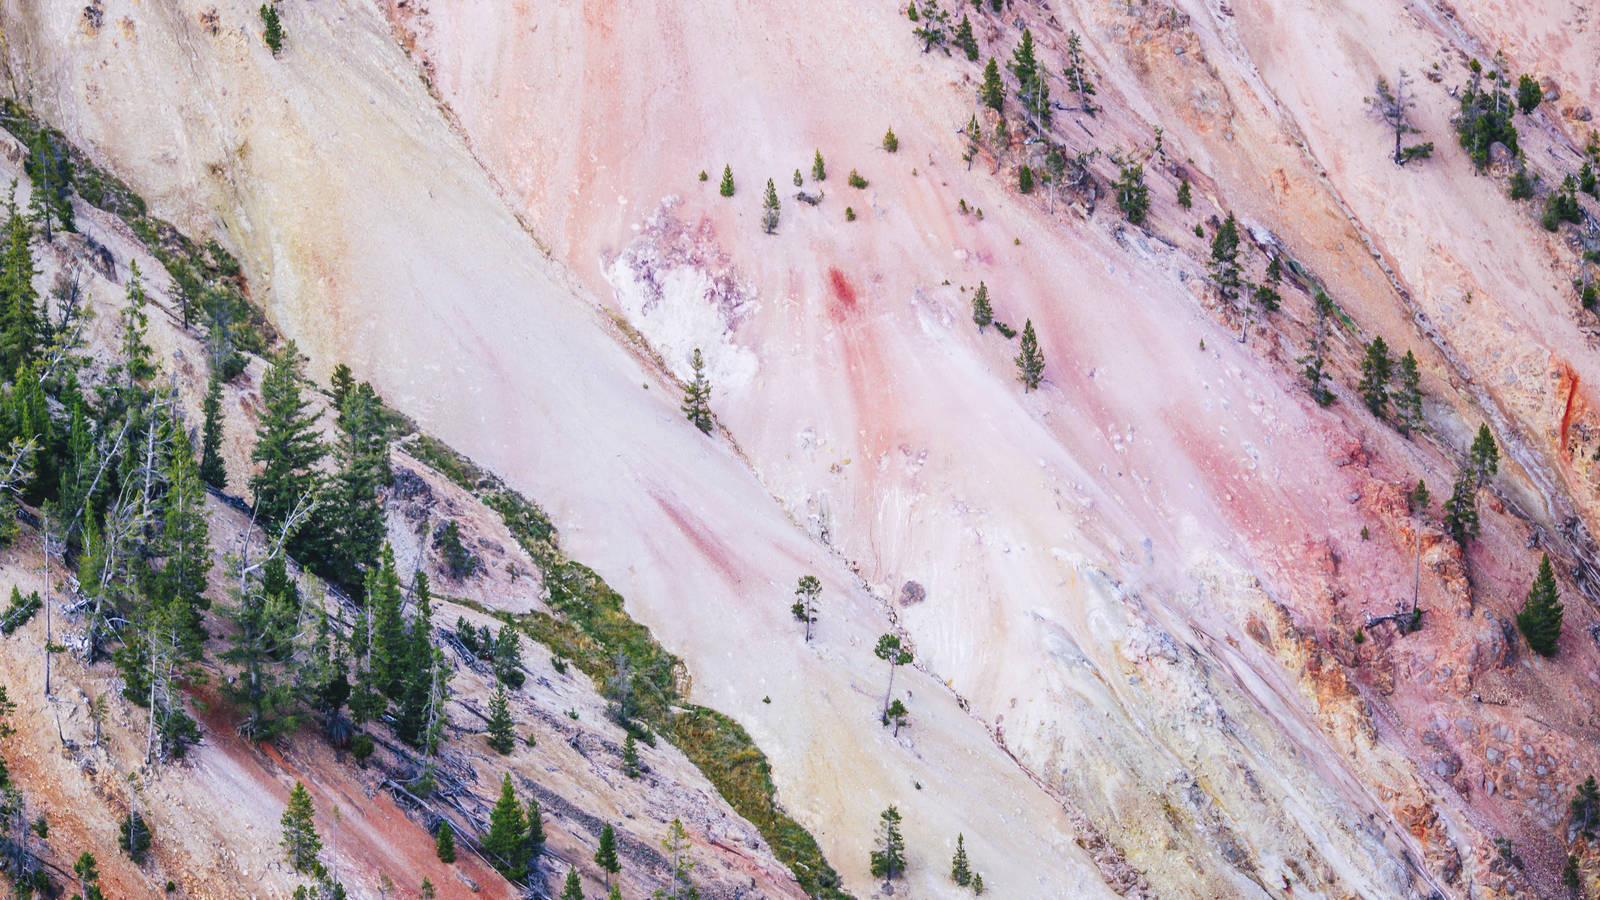
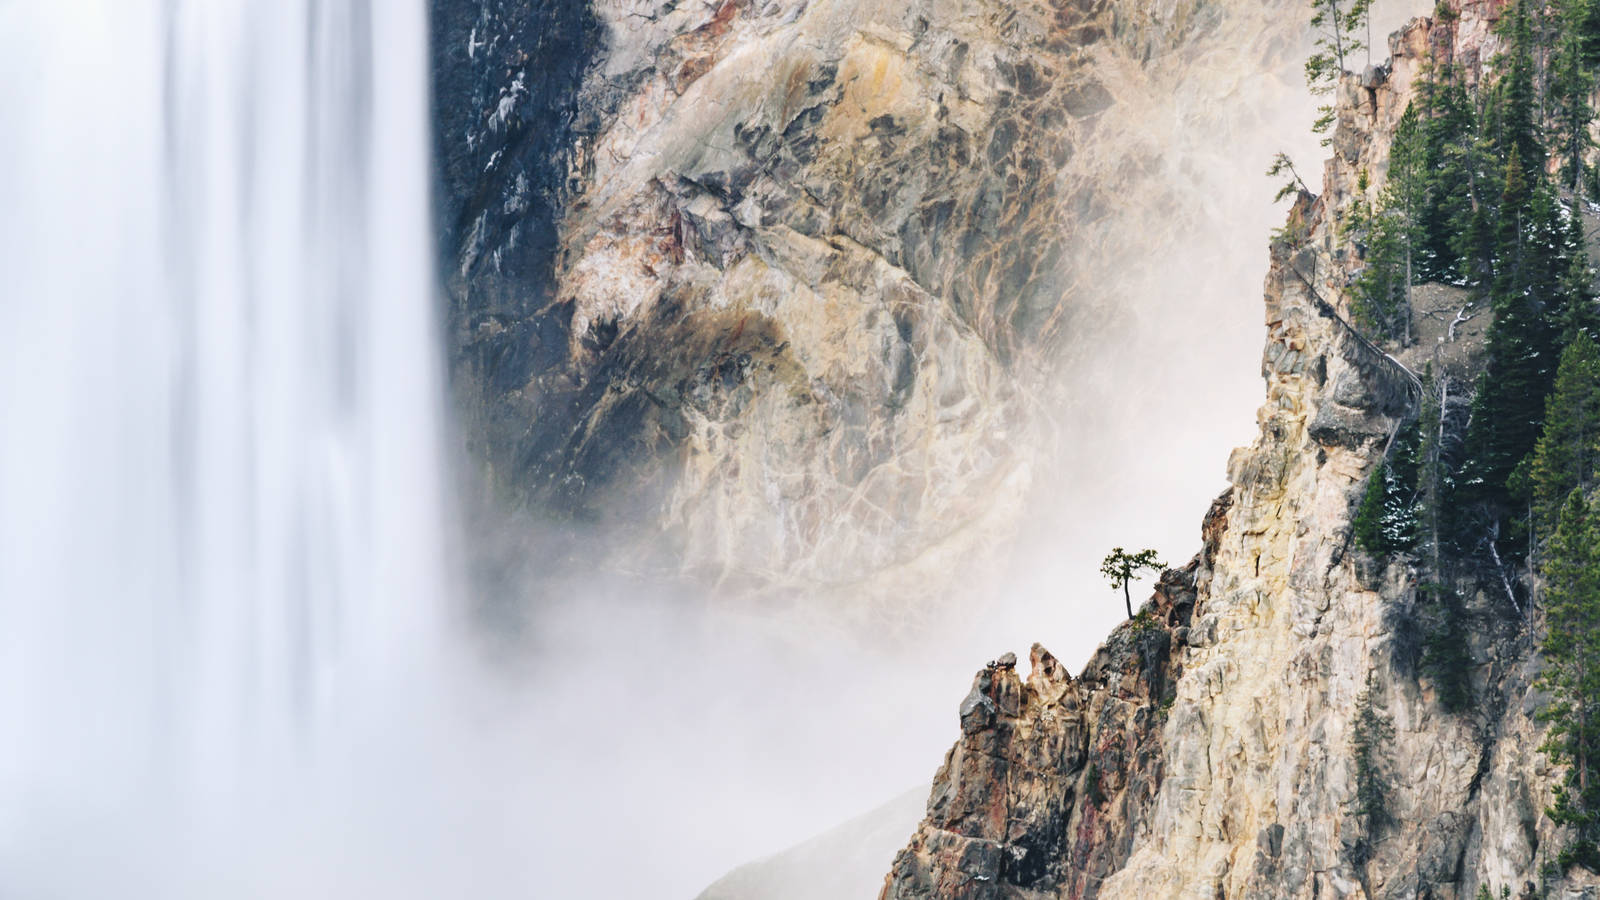
We’ve all seen the same exact photo of the same exact park vistas. And while there’s nothing wrong with capturing those iconic scenes for yourself (apart from having to deal with crowds and then stressing over the shot instead of enjoying the view), try to get creative with your shots. Take a minute to look around, appreciate and take in your surroundings. Notice what other people aren’t seeing, such as tiny details around you. Frame something interesting in the foreground, such as people or wildlife. I captured the beautiful pinks and yellows of the canyon walls in the photo above by facing away from Yellowstone’s iconic Lower Falls, where everyone else was focusing their cameras.
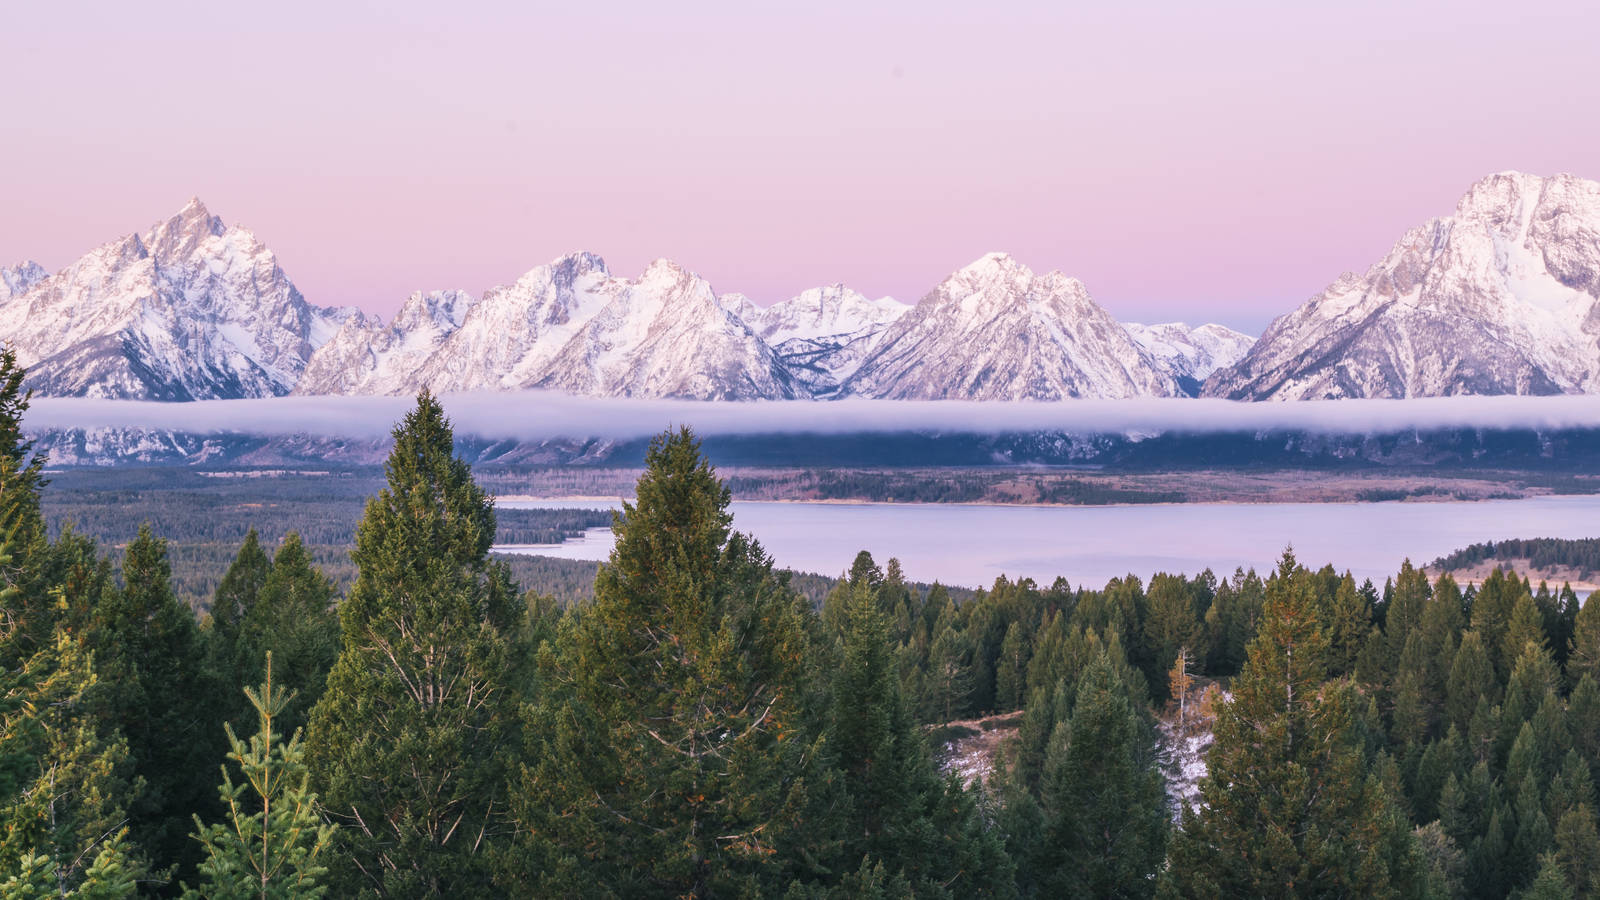
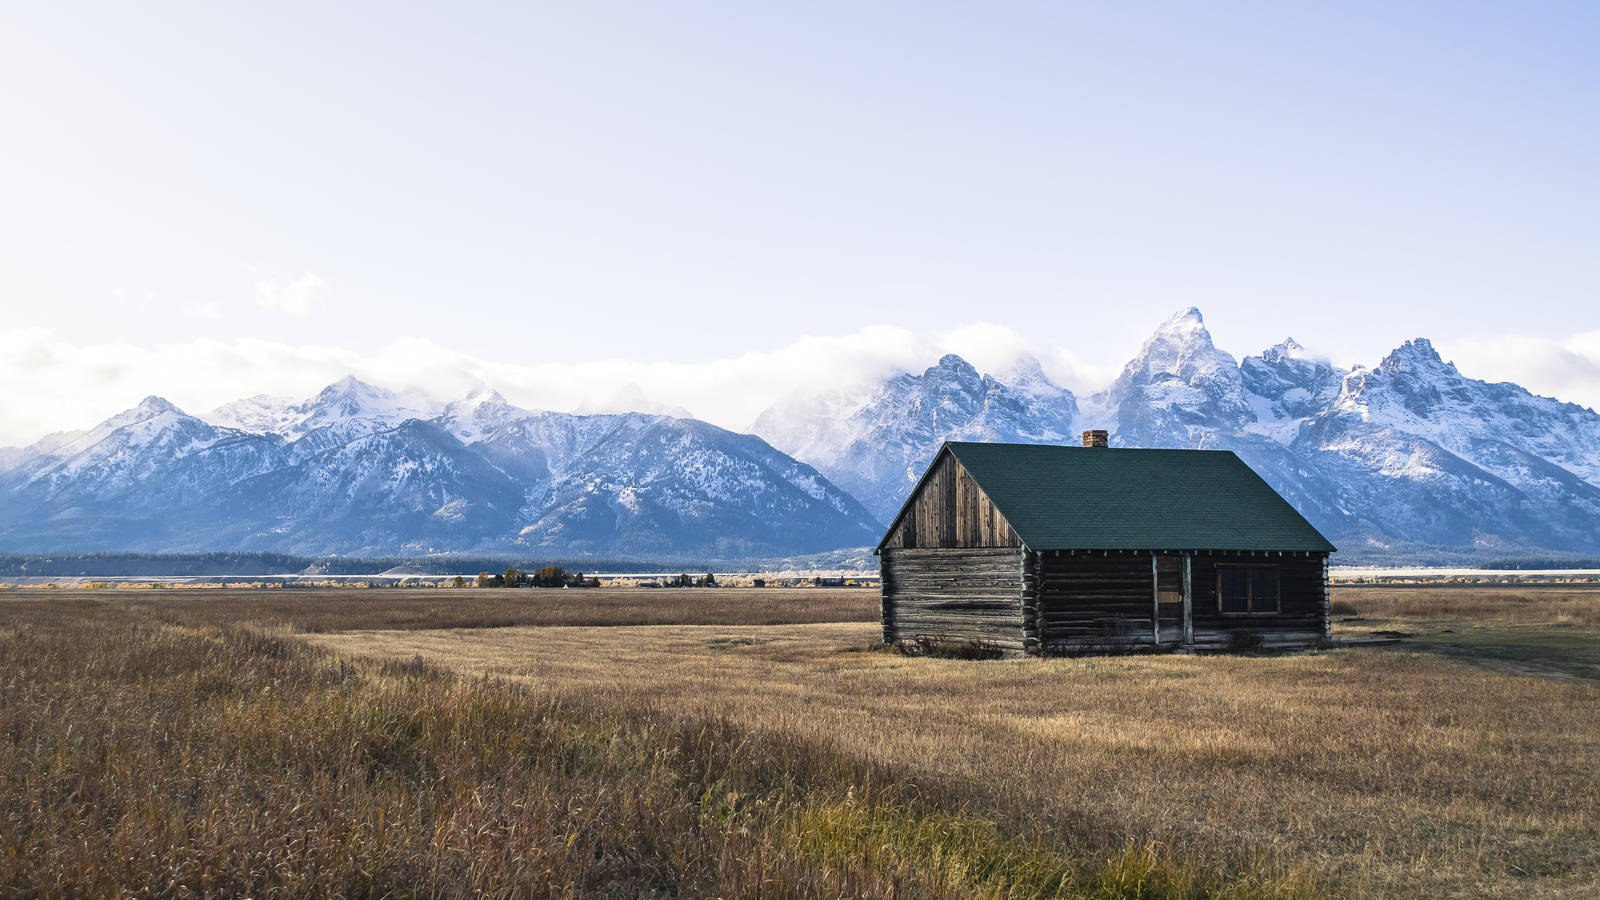
3. Understand composition.
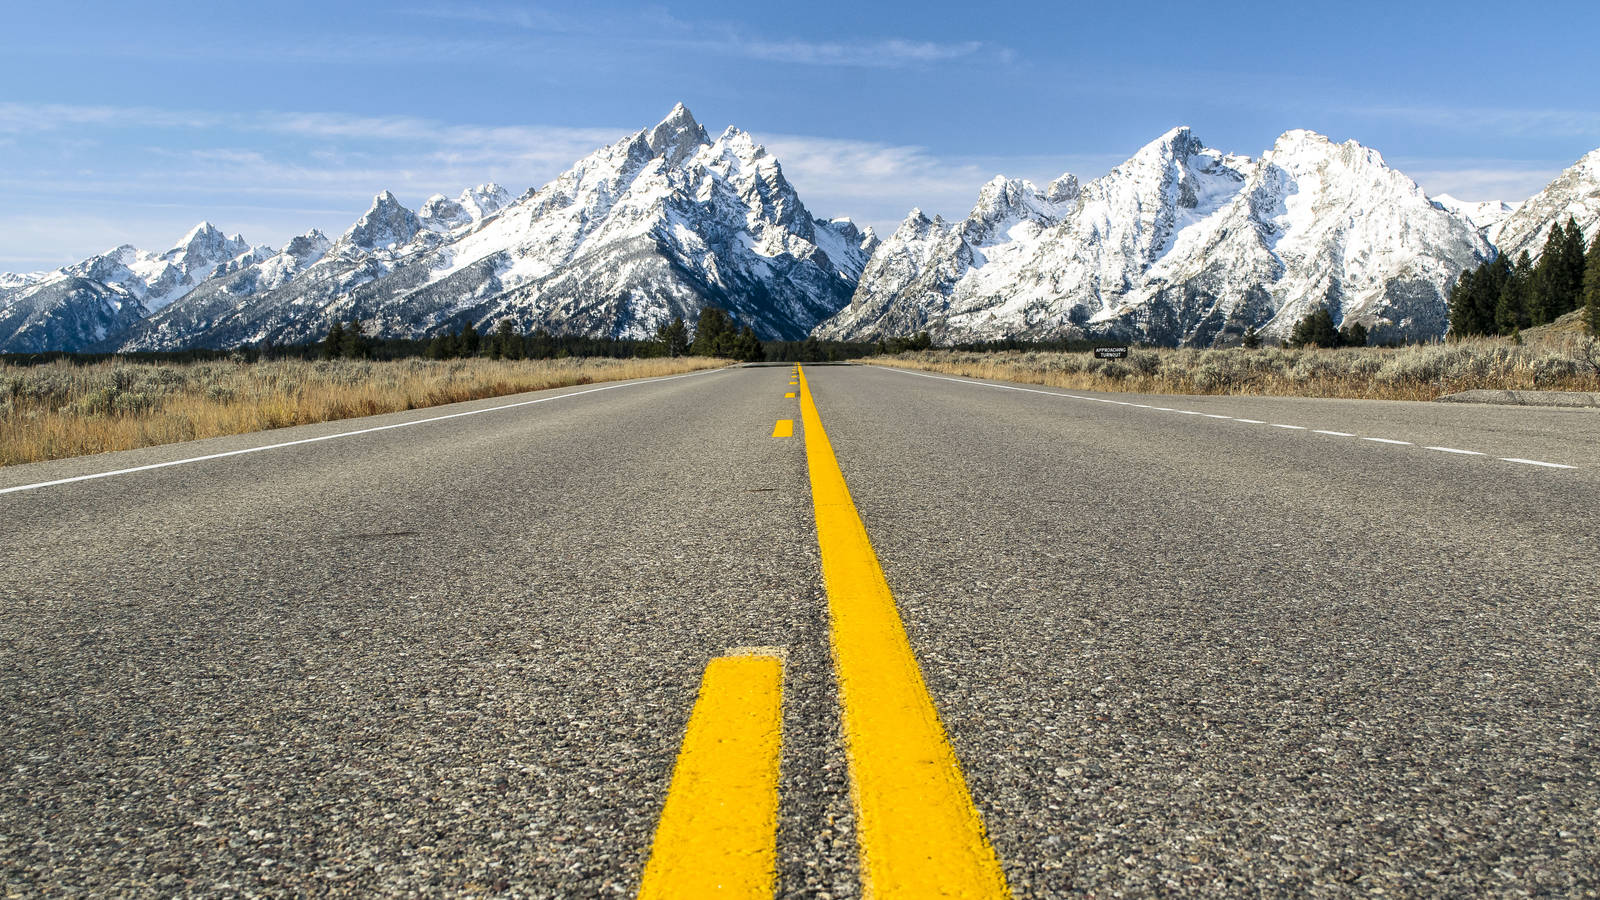
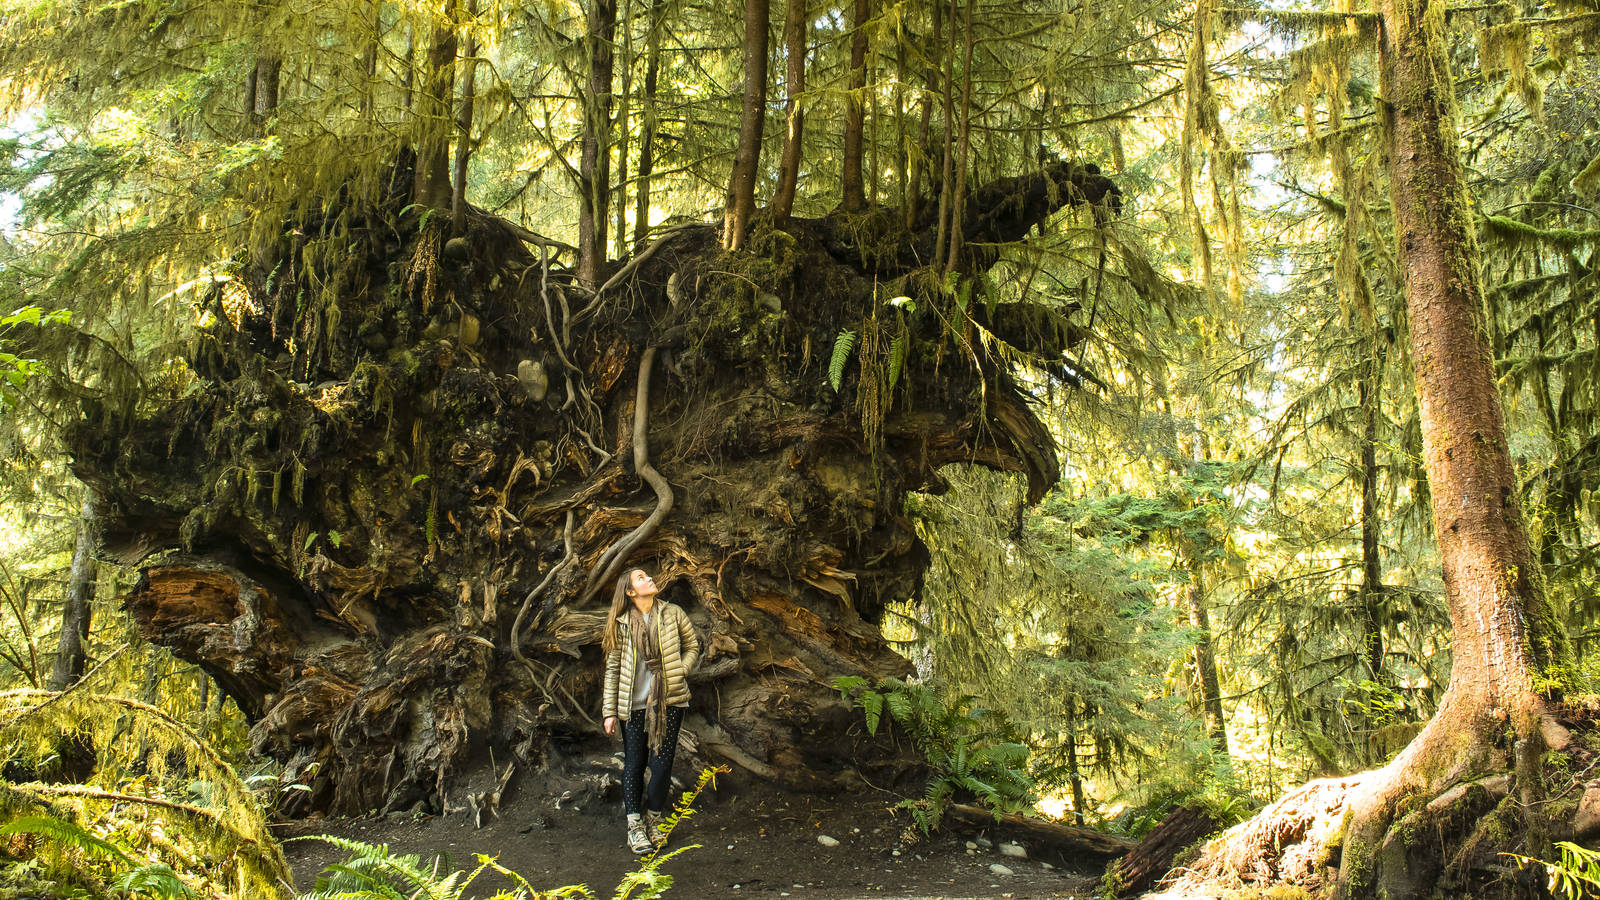
Use leading lines, the rule of thirds, focal points and other strategies to create balance and visual interest in your photos. Compose your photo to help guide the viewer’s focus. Show scale by including a visual cue that acts as a frame of reference in your photos. Capturing a tree or a person next to a mountain, for example, can show how vast the landscape is. Taking the time to intentionally frame your shot with these things in mind can help make the difference between a “meh” photo and a compelling one.
4. Be responsible.
Remember the leave no trace mantra: “Take only photos, leave only footprints.” Don’t disturb land or wildlife to get your shot. Pack out what you pack in. Always keep a safe distance from wildlife (pack that zoom lens to get the close-up shots). Stick to trails and designated safe areas. Do not wander off into dangerous areas just to get “the shot” — it’s not worth the risk.
5. Find inspiration.
Follow and engage with photographers whose work you admire. Browse national park photography books. Subscribe to photography magazines. Take a class or join group outings to improve your skills and meet others with similar interests. And keep visiting your national parks for endless sources of inspiration!
If photography is more of a serious hobby (or you’d like for it to be!), kick it up a notch with these additional tips.
6. Start with a good camera.
Smart phones take fantastic photos these days, but if you want to make photography a serious hobby, consider investing in a decent entry-level DSLR or mirrorless camera. It will give you more creative control over your photos and allow you to do so much more than you can with a phone.
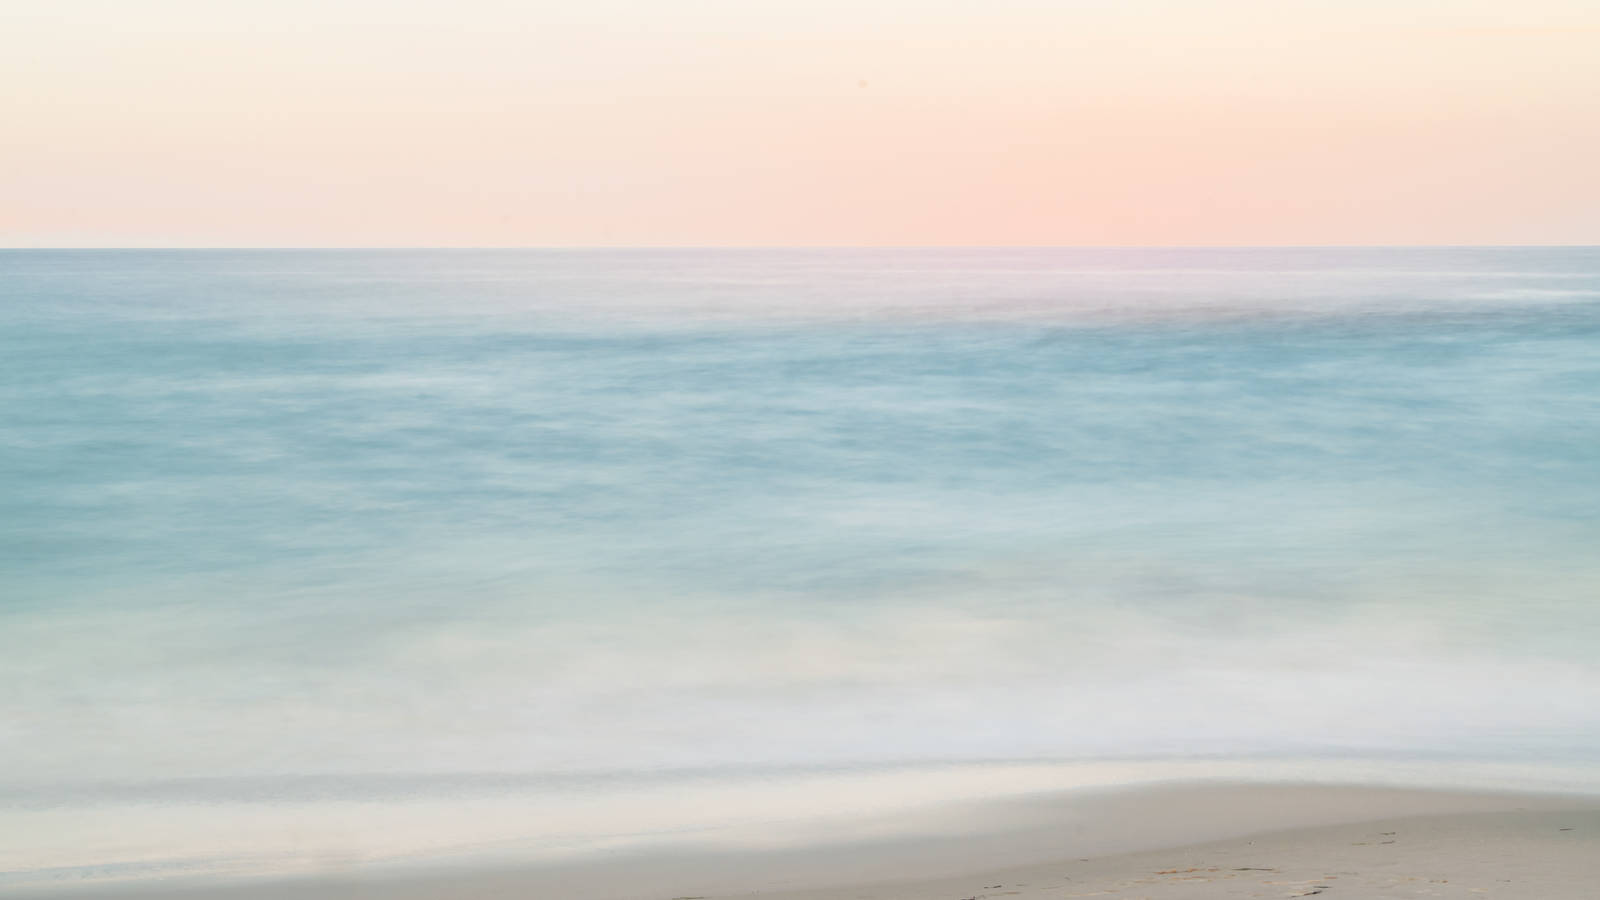
7. Steady your shots with a tripod and remote.
Unless you’re shooting with a pretty fast shutter speed, your hand may introduce enough movement to blur the image. So, when working in situations with astrophotography, sunsets, low light and those really cool long-exposure shots of water (as shown above), you’ll need a tripod to keep your camera as still as possible. Having a remote, preferably one that is wireless, will also avoid any shake from you pressing the shutter button and will enable you to take some pretty cool self-portraits, too.
8. Expand your horizons with lenses.
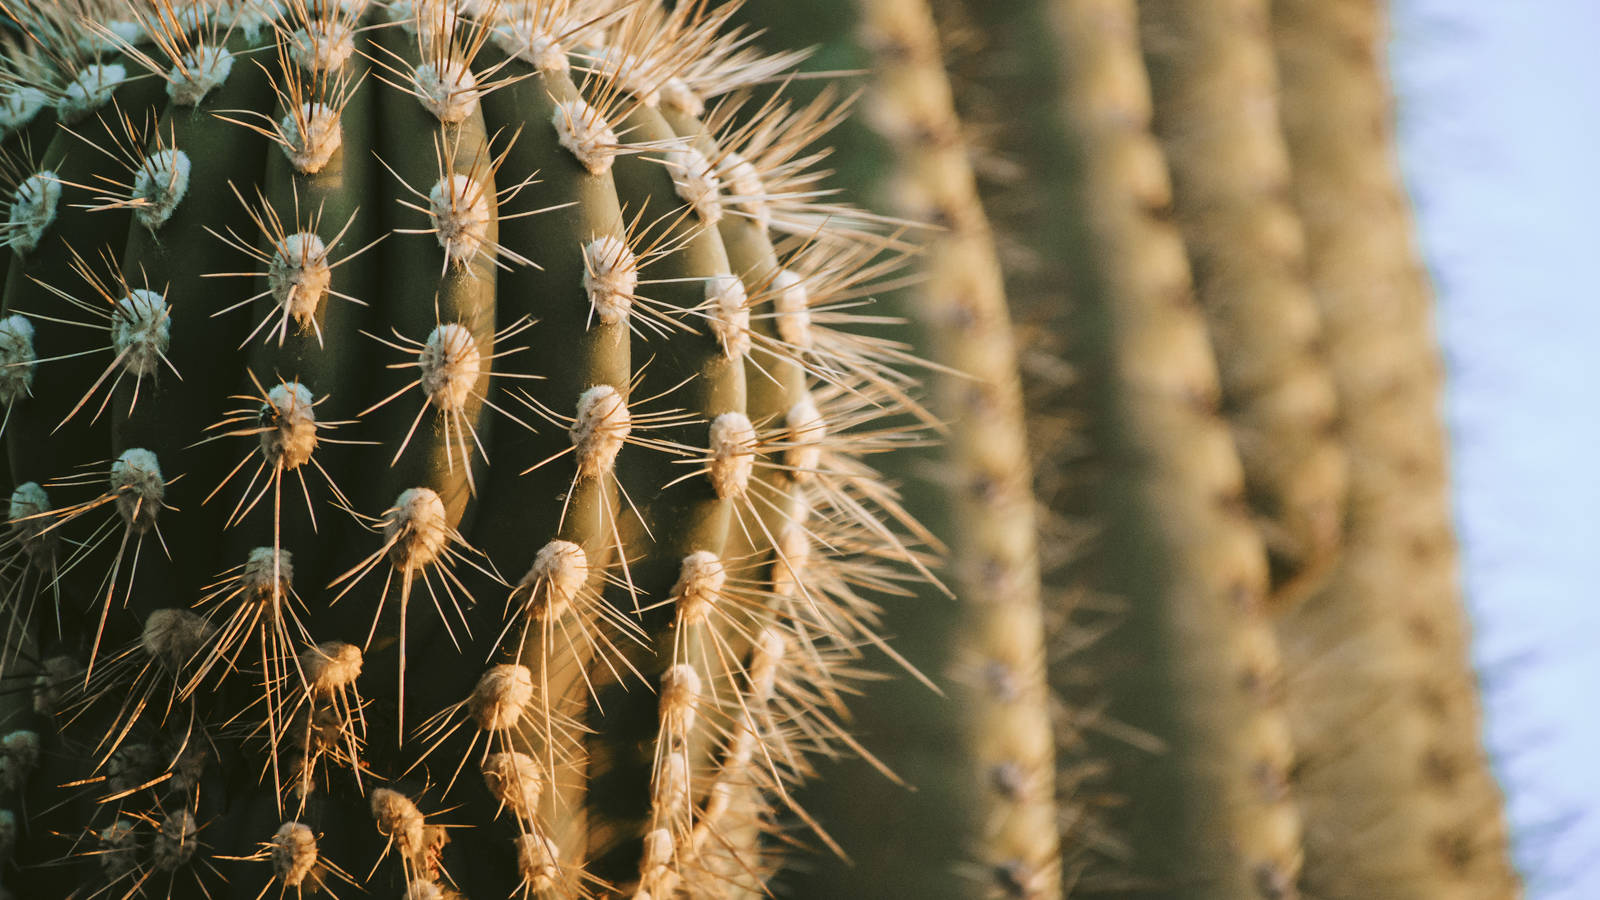
There are three lenses that will come in handy for park photography, depending on your needs: telephoto, wide angle and low aperture. Telephoto lenses increase your focal length, which is a fancy way of saying you can clearly zoom in on objects that are farther away. This is useful in situations where you can’t get close to your subject, either out of concern for safety (like keeping a safe distance from wildlife) or physical constraints. My telephoto lens goes up to a focal length of 300mm, which allows me a decent amount of zoom to give wildlife some room. On the opposite end is a wide-angle lens, which will help you capture those sweeping vistas. And last but not least, a low aperture lens allows you to get a shallow depth of field, creating artistic shots with the subject in focus against a soft, blurred background.
9. Limit light with filters.
Filters go in front of the lens and act kind of like sunglasses for your camera. Neutral density filters provide varying darkness levels of a neutral gray color, limiting the amount of light that gets into your camera (like your shades). This allows for better long exposures in daytime, when your image would normally be overexposed and bright. A split neutral density filter is only darkened on one half of the filter and helps even out exposures when you have a bright sky but a dark foreground. Polarized filters reduce glare (like your polarized shades), manage reflections on water, and help those blue skies pop!
10. Learn how to use manual settings.
Shutter speed — how fast or slow your camera takes the photo — is key to a lot of great park photos. Use a fast shutter speed to freeze wildlife in action and a slow shutter speed to make ribbony waterfalls and mirrorlike reflections. A slow shutter speed will also allow enough light in to capture starry night skies. Playing with aperture — how wide or narrow the opening of your camera system is — can create some artistic shots as well. With a low aperture lens, use a wider aperture/smaller f-stop (e.g., f/1.8) to make details really pop (great for close up, detailed shots) and help balance exposure in low light situations.
11. Use a photo editing software or app.
Even just light editing can really add that “wow” factor to your photos and help give a consistent look and feel that becomes your signature. I use Adobe Lightroom on my computer, which provides advanced controls and file organization, but you can also use smartphone apps like VSCO or Snapseed if you’re looking for a simpler solution.
12. Practice and be patient.
Parks are unpredictable places, and you might not get the weather or wildlife sighting you were hoping for right away. And if you’re learning your way around new gear or camera settings, there will be a learning curve. Remember to be patient, find joy in the practice, and be proud of your growth. Even if, at the end of the day, you didn’t get the photos you hoped for, you just spent time developing a new skill in one of the country’s most special places. Could there be a more beautiful classroom?
For more nature photography inspiration and tips, find the author on Instagram at @penandpostcard.
Stay On Top of News
Our email newsletter shares the latest on parks.
About the author
-
 Sheila Nguyen Associate Director of Digital Communications
As Associate Director of Communications, Sheila Nguyen leads NPCA’s media and outreach efforts across all social media platforms.